Hello, my dear DIY enthusiasts! Today, it's time for a splendidly eerie Halloween project involving the artistry of epoxy resin and the illusion of blood!
Many have often wondered why I never pour resin artworks in the color RED, and today, I aim to show you why - haha :)
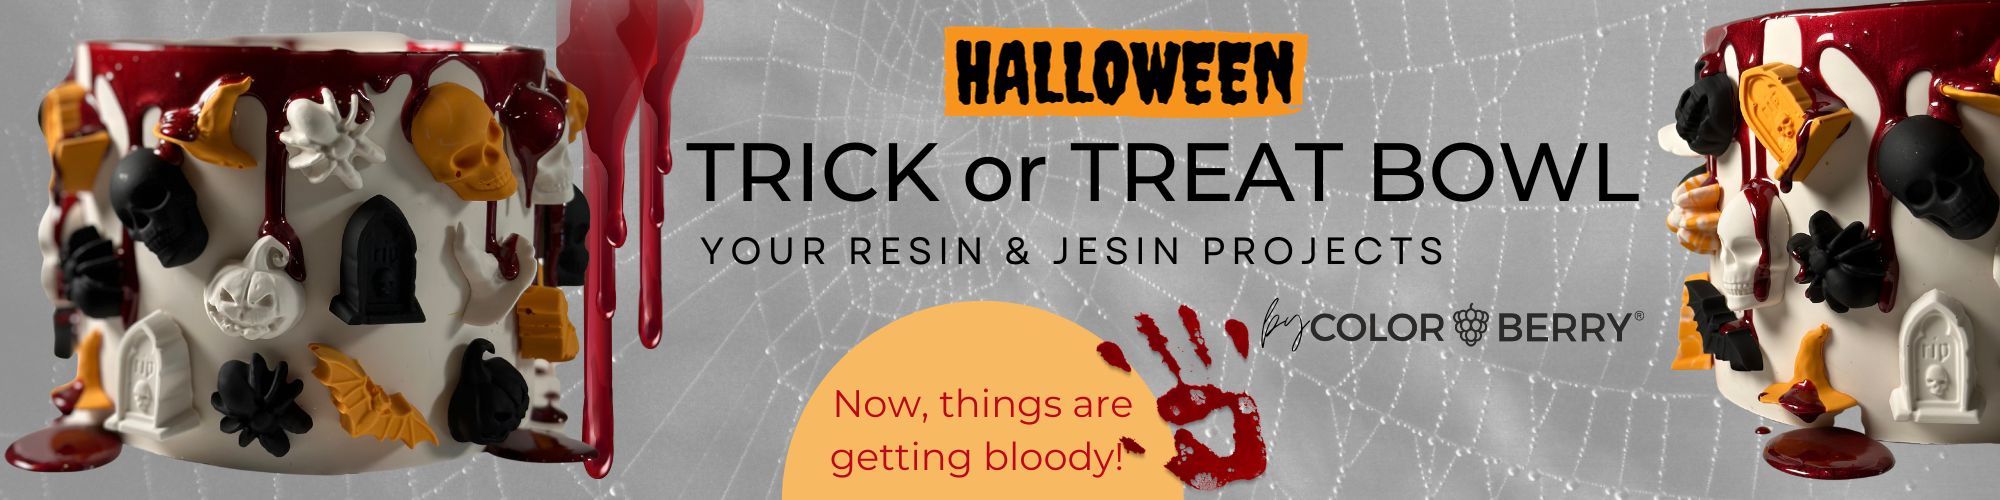
I've crafted a 'Trick or Treat' bowl using JESIN and RESIN that has a few surprises up its sleeve...
The initial step involved pouring the bowl. Many of you who regularly read my blog posts know that I prefer to use a simple silicone mold from Amazon, originally intended for casting concrete flower pots. In this mold, I poured JESIN only, without any added color.
While this first pot was curing peacefully, I mixed up another batch of JESIN and added the JET color (LIQU-MENT by COLORBERRY) to achieve a beautiful black hue. I then poured this black JESIN into a silicone mold originally designed for creating cake fondant figures. You can easily find these molds on Amazon by searching for 'HALLOWEEN SILICONE MOLDS'... They are readily available. I also made these small shapes in white (the natural color of JESIN) and orange (using NEON ORANGE LIQU-MENTS).
"Once all the JESIN creations had fully cured – which happens in just 20 minutes – we were able to remove them from their molds. So, we had a beautiful bowl and a plethora of tiny HALLOWEEN figures. Next, I simply used a hot glue gun to attach the small figures to the bowl. You won't believe it, but they were incredibly sticky. I know this because I accidentally 'glued' one on and tried to swap it with another – forget it! You won't be able to remove them! haha
And now, we get to the spooky part: the BLOOD! I used BERRY RESIN for this part because it starts to cure relatively quickly (20 minutes). So, I mixed up a small amount – I believe it was 50g of RESIN + 25g of HARDENER. Then, I reached into my collection of colors and grabbed some red Mica Powder. Adding a bit of LIQU-MENT JET (the black color) to it created an intense, realistic blood-red hue.
I left this resin-color mixture sitting for a full 20 minutes, which is something I typically never do and usually advise against. However, in this particular case, this step was necessary. After 20 minutes, the resin should become warm – almost hot. This unique resin state helps prevent it from completely spreading out, allowing us to achieve a truly realistic, flowing blood-like appearance.
Now, I pour the resin into a piping bag – but be cautious, it should be sturdy enough to handle the heat of the resin. Trim the tip with scissors, and you're ready to go! Just start at the top rim of the bowl and squeeze the color out of the bag. Start with a little less resin initially and see how it flows... If you find that the resin 'drips' aren't long enough, simply add more color, but always pour it from the top edge!
I can assure you that you will definitely experience some spine-tingling chills as you pour this resin blood...
And now, simply let your HALLOWEEN bowl cure – this takes approximately another 12 hours for the resin to fully set. Then, it's ready to use as your TRICK or TREAT BOWL :) I wish you lots of fun while crafting and
HAPPY HALLOWEEN
Yours, MRS.COLORBERRY