The DIY trend is currently experiencing a remarkable upswing due to various factors. The yearning for individuality and self-expression, the satisfaction of creative needs, growing environmental awareness, community aspects and economic benefits are just some of the reasons why more and more people are taking the DIY route. By fostering creativity, sustainability and community building, DIY has the potential to continue to grow and positively impact our way of life.
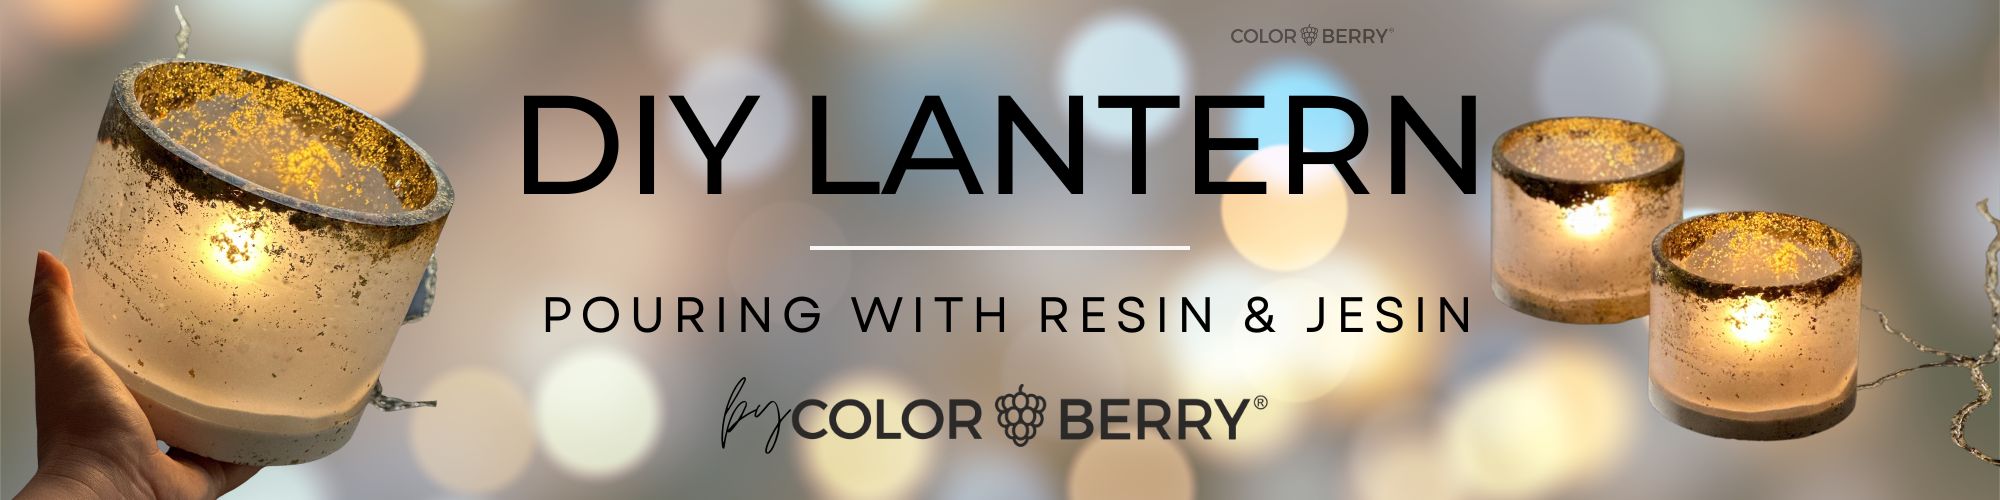
So, why not roll up your sleeves and create something of your own? Let me show u how I poured this elegant lantern, which u can use for dinner party, outdoor usage, birthday partys or even for Christmas time!
This beautiful lantern is a combination of JESIN & RESIN. If you don't know what exactly JESIN is, just check out my blog post "WHAT IS JESIN?" because here I explain the properties of JESIN.

WHAT U NEED?
First, the "basic ingredients" (utensils) you need to make this beautiful creation yourself:
1) Silicone mold
This mold I use here I bought on amazon. Usually it is a silicone mold for plant pots, but I just change the purpose of it.
Here is the shopping link for amazon:
2) Resin (=epoxy)
There are currently so many manufacturers on the market for epoxy resin, but for me personally quality is the most important, because I want to have something of my "work of art" for a long time and not be angry if it becomes dull or even yellowed already after weeks. My personal product recommendation for an almost airbubble free casting in one step is the D-CAST RESIN by COLORBERRY. The end result will blow your mind:)
https://www.mrscolorberry.com/products/d-cast-resin
3) JESIN
This material just inspires me over and over again and you can actually do so much more with this material. But I use it here for many reasons. One of it is by using JESIN you get a unique, velvety 3D look.
https://www.mrscolorberry.com/products/jesin-3-kg
4) Metal leaf
U need a metal leaf with is easy sticking to silicone molds, because this is the first step we are doing. I bought them as well on amazon.
Shipping link is here: Metal leaf
5) Shells
U can use of course any shells u have at home or find in a deco store. Feel free to use the SHELLYs by COLORBERRY, they will give u a nice and elegant pearl effect.
HOW TO POUR the lantern?
Now let's get to probably the most exciting part of this blog by showing you how I poured this lantern.
I would like to mention briefly that I do not go into the basics of how to work with resin in principle. But if you need to catch up here, feel free to read through my blog post "BASICS about RESIN". There you will learn my personal tips & tricks about working with RESIN.

1) Apply the gold leaf
Just grab the mold and drizzle some of the gold leaf on the sides. It will stick on it`s own on the silicone mold and will stick to the resin afterwards. Feel free to use as many gold as u want, but u know sometimes less is more.
2) In the next step, we pour clear resin in the mold – I mix here the D-CAST RESIN, which is a 1:1 resin. It should be about 80% of the casting height of your silicone mold, so that there is still enough space to fill with JESIN. By using this resin u will see that after some minutes the bubbles will appear on top of the surface, so just use the COLORBERRY BUBBLEBYE to spray the bubbles away. U might have to repeat this step after 15-20 min, when even more air bubbles will get visible.

3) Put your shells into the resin and dip them a little bit into the resin. U can drop them on the sides and u will see they will sink down.
4) ATTENTION: This step requires exact timing. After 4-6 hours of drying time of your resin layer, so if it feels like tough chewing gum (and now please do not test directly with your fingers, but take a stick for it), then now is the perfect time to fill the silicone mold once with JESIN.
If you don't follow the exact timing, JESIN will not bond with the resin - it has to be glued together, so to speak ;)
The JESIN you can also design with colors a little more colorful, but I stay with my creation in the natural cream tones, which the JESIN already brings from home.

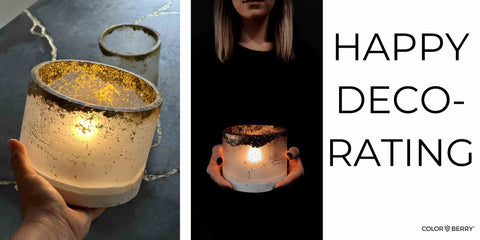
5) After a final curing time of about another 12-24 hours, you can now remove your creation from the silicone mold. And it`s done!
Now your lantern can be used with a little tee light or LED-light.
